focaccia
Sourdough Focaccia - Sandwich Roll
High-Hydration | Low-Acid | Soft Crust
Prep Time
2 Days
Cook Time
18 - 22 minutes
Rest Time
1 Day
Yield
9 X 13 Pan
Scale Recipe
- Strong Bread Flour (12.5%+ protein)500 g
- Warm Water (approx. 85°F)410 g
- Active Sourdough Starter (100% hydration)75 g
- Fine Sea Salt10 g
- Honey20 g
- Olive Oil (for dough)30 g
- Olive Oil (for pan)2 tbsp
- Half-and-Half (for brine)2 tbsp
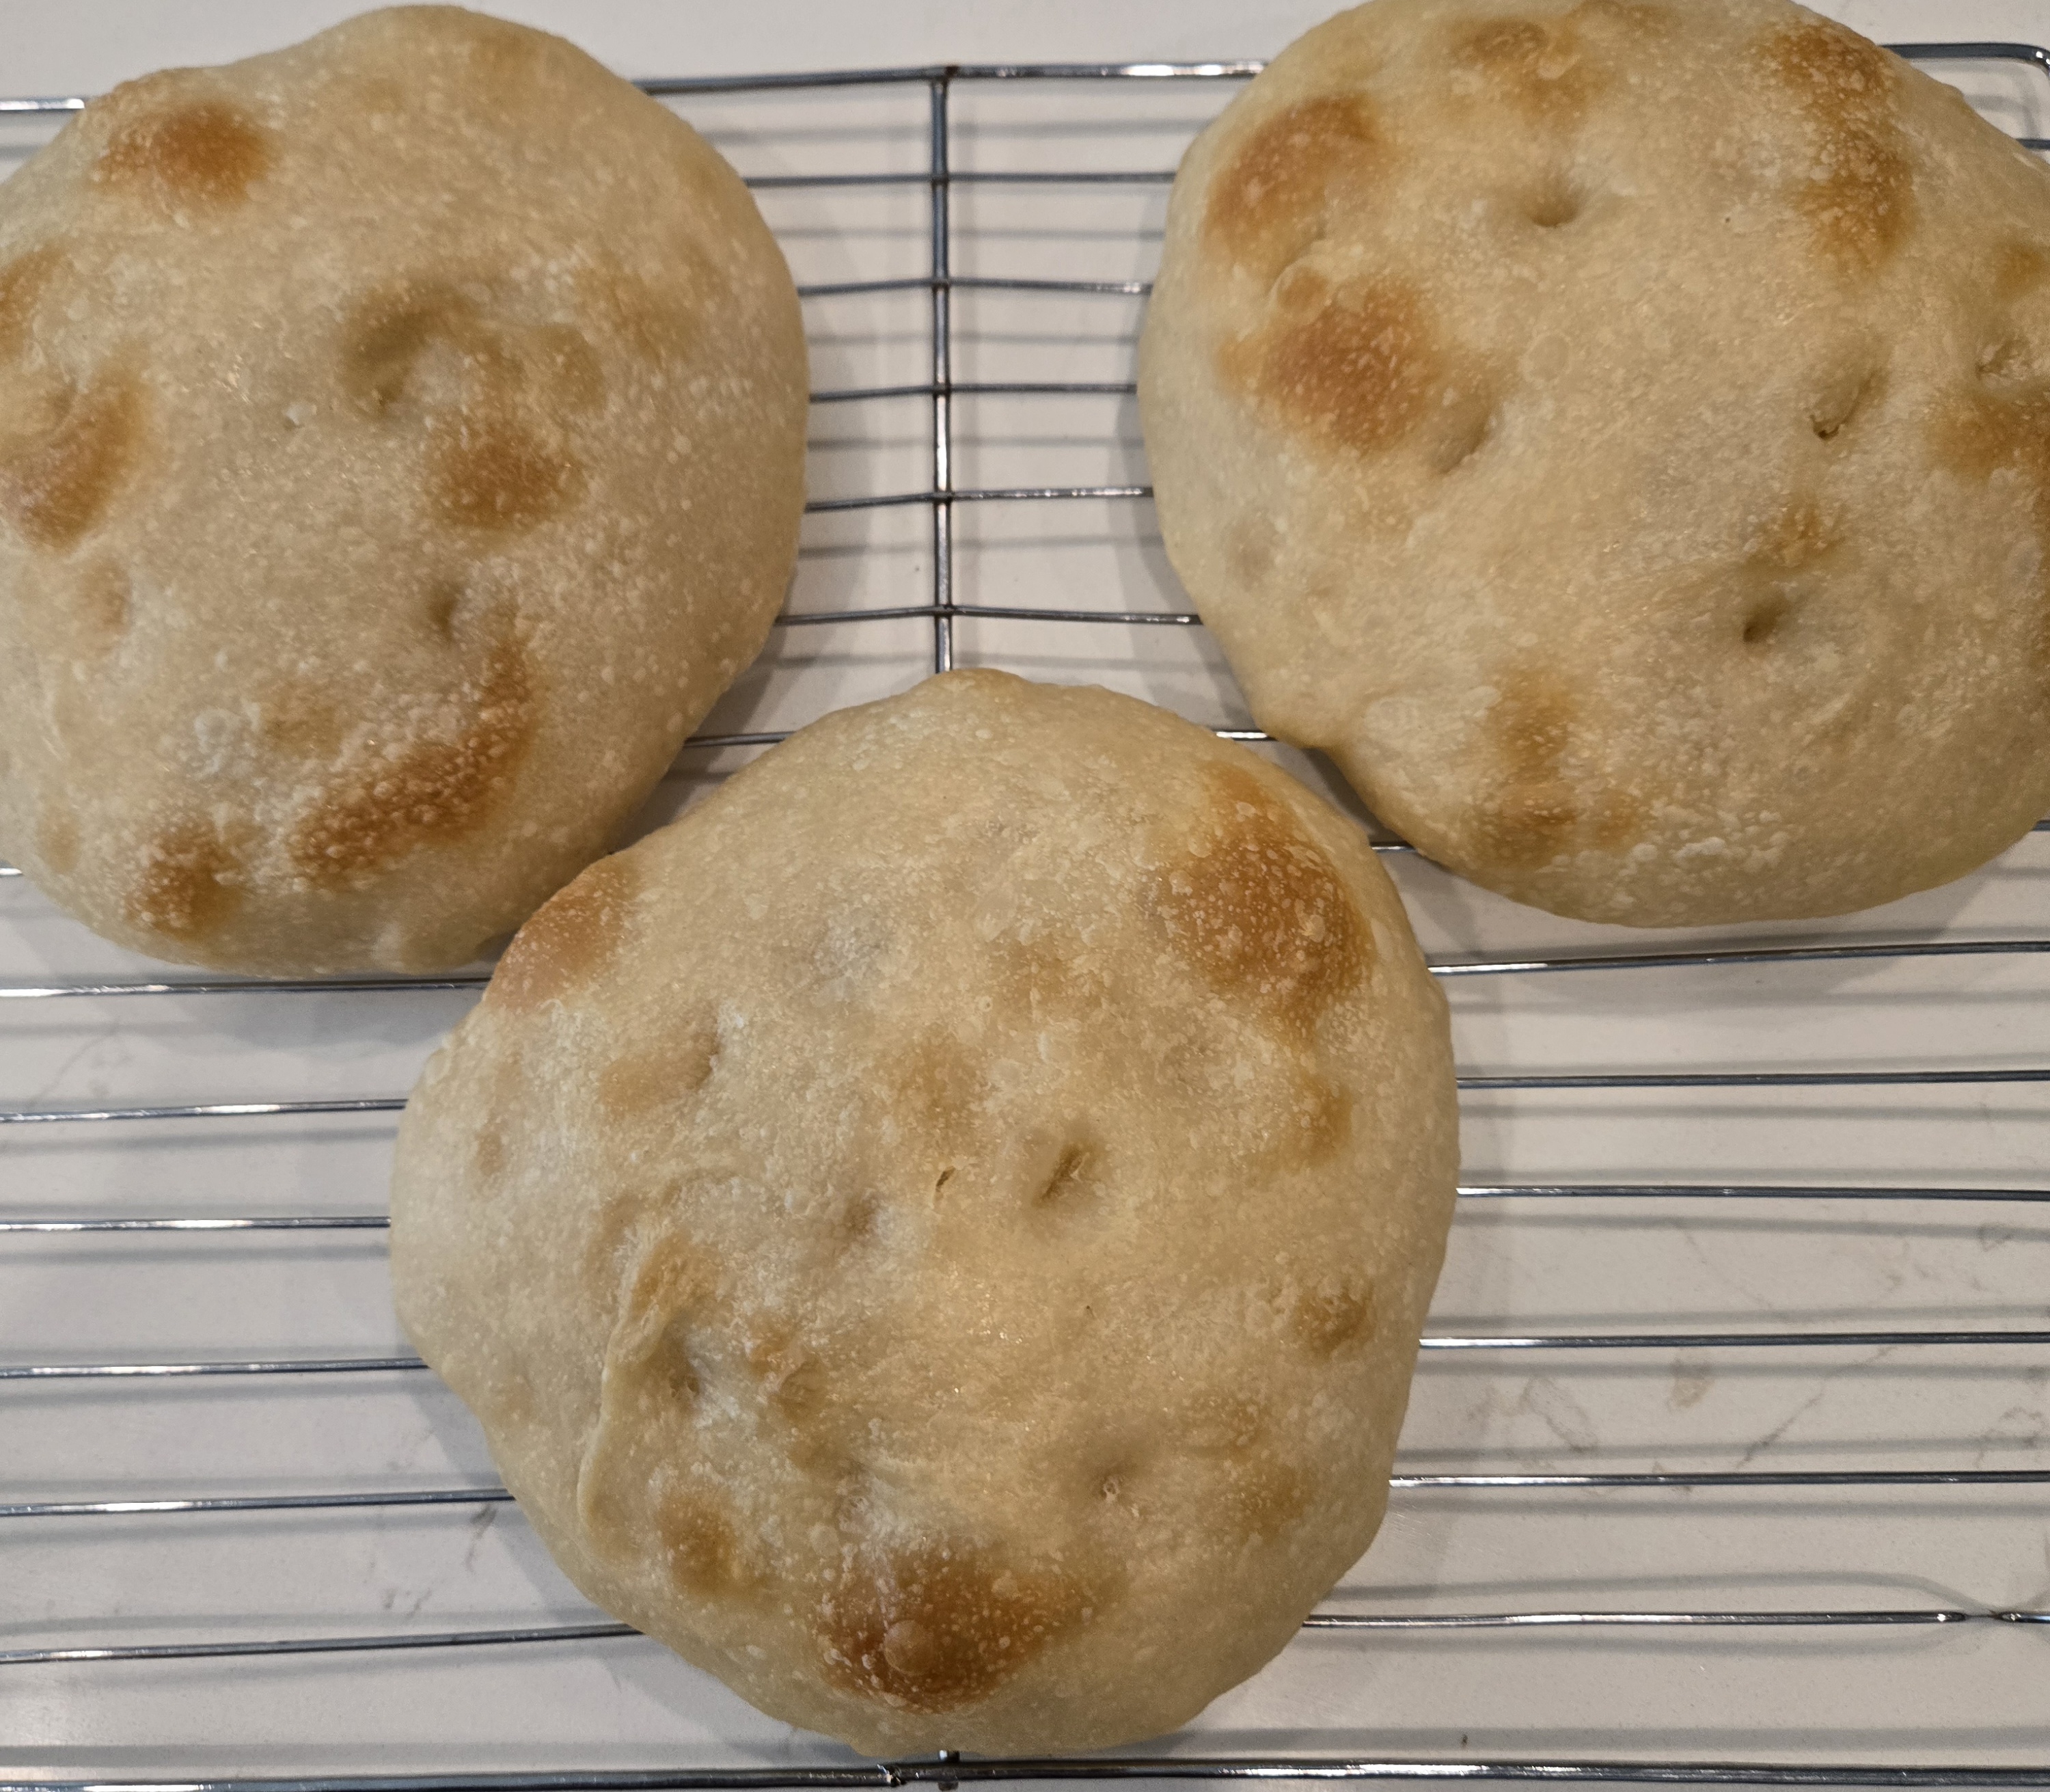
- Olive Oil (for brine)1 tbsp
- Flaky Sea Salt (for brine)1 pinch
Instructions
1
Day 1, 02:15 PM Whisk the warm water, young starter, and honey in a large bowl until the starter is mostly dissolved and the mixture is frothy.
2
Day 1, 02:20 PM Add the bread flour, sea salt, and 30g of olive oil then mix until a shaggy mass forms with no dry flour remaining.
3
Day 1, 02:30 PM Cover the bowl and let the dough rest for 30 minutes to allow the flour to fully hydrate before starting the folds.
4
Day 1, 03:15 PM Perform the first set of coil folds by lifting the middle of the dough with wet hands and letting the ends tuck underneath.
5
Day 1, 03:45 PM Perform the second set of coil folds to continue building strength in the high-hydration dough.
6
Day 1, 04:15 PM Perform the third set of coil folds, noticing the dough becoming smoother, stronger, and more cohesive.
7
Day 1, 04:45 PM Perform the fourth and final set of coil folds then cover the bowl for the bulk rise phase.
8
Day 1, 04:45 PM to 06:45 PM Let the dough sit undisturbed in a warm spot until it has expanded by 50 percent and shows visible surface bubbles.
9
Day 1, 07:00 PM Cover the bowl tightly with a lid or plastic wrap and place it in the refrigerator for a cold ferment of 12 to 16 hours.
10
Day 2, 09:00 AM Line two large baking sheets with parchment paper and lightly butter the paper before adding 1 tablespoon of olive oil to each sheet.
11
Day 2, 09:10 AM Dump dough onto clean oiled counter. Degas the cold dough slightly and divide it into 8 equal portions.
12
Day 2, 09:15 AM Shape each portion into a smooth ball and place 3 balls on each baking sheet, leaving several inches of space between them.
13
Day 2, 09:15 AM to 11:00 AM Let the rounds rise at room temperature until they have spread into 5 or 6-inch circles and feel extremely puffy.
14
Day 2, 11:00 AM Preheat your oven to 400°F and whisk together the half-and-half, olive oil, and salt to create the softness brine.
15
Day 2, 11:10 AM Use oiled fingers to dimple the surface, pressing them out slightly to sandwich width.
16
Day 2, 11:20 AM Place the sheets in the oven and bake for 12 to 15 minutes, watching closely as these smaller rounds brown faster than a full pan.
17
Day 2, 11:40 AM Check that the internal temperature is at least 200°F and the tops are a light, pale golden color.
18
Day 2, 11:40 AM Remove the sheets from the oven, brush the tops lightly with a little oil, and immediately drape a clean kitchen towel over the rounds.
19
Day 2, 11:40 M to 11:55 AM Let the rounds steam under the towel for 15 minutes to ensure the crust stays soft and supple for sandwich use.
20
Day 2, 11:55 AM Transfer the rounds to a wire cooling rack and allow them to cool completely so the internal crumb structure can fully set.
21
Day 2, 01:30 PM Slice the cooled rounds horizontally to create the perfect soft, airy sourdough focaccia buns for sandwiches.
Baking Notes
May 2, 2026
Thickness Control: If you want them even thinner, you can reduce the final proof time to 2 hours. This will give you a denser, more "flatbread" style crumb that is very sturdy for heavy sandwich fillings.
The "Bottom Crisp" Prevention: Because these have a higher surface-area-to-volume ratio, they can dry out faster. The "Steam Wrap" under the towel is absolutely mandatory here to keep the individual buns from becoming hard rolls.
Storage: These freeze exceptionally well. Once cooled, wrap them individually in plastic wrap and freeze; they can be toasted directly from the freezer for a fresh sandwich whenever needed.